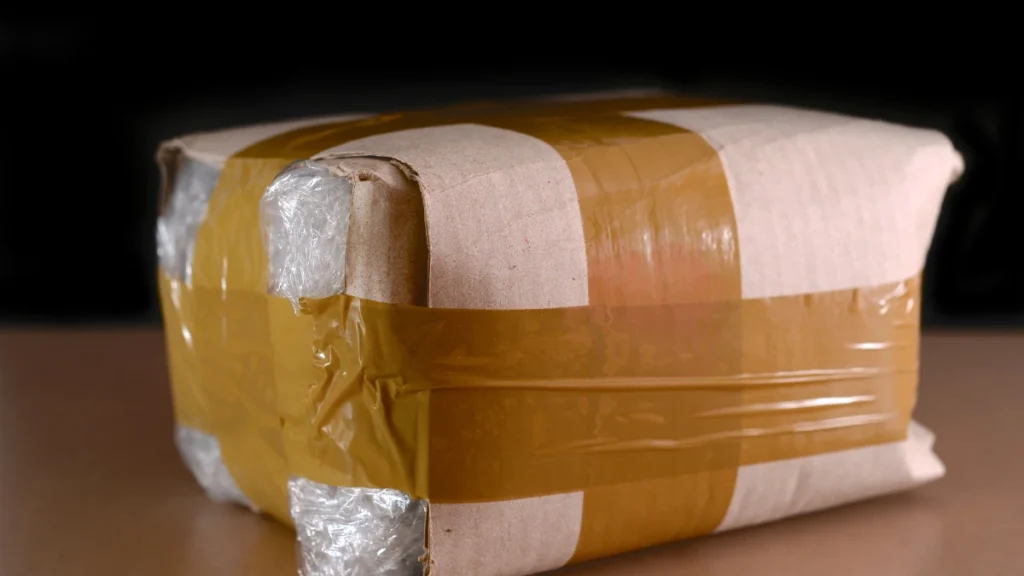
In this guide, we will walk you through the process of packing a lift recliner, covering everything from the materials you need to the step-by-step instructions for packing. This comprehensive approach ensures that every aspect of packing is addressed, reducing the likelihood of errors that could lead to damage. Let’s get started!
Contents
Materials You Will Need
Before you begin packing your lift recliner, gather the necessary materials. Having everything ready will make the process smoother and quicker. The right materials can make a significant difference in how well your recliner withstands the move, so investing in quality packing supplies is worthwhile.
Essential Packing Materials

- Tissue Paper: This is great for wrapping smaller parts and providing a layer of protection. The thin, soft nature of tissue paper makes it ideal for delicate components that might scratch or scuff during transit. It’s also useful for filling in small gaps to prevent shifting. We recommend using iLovewrapper’s custom tissue paper and printing your brand logo on the tissue paper.
- Bubble Wrap: Use this to cushion the recliner and protect it from scratches and impacts. The air-filled bubbles provide a protective barrier that absorbs shocks and vibrations, minimizing the risk of damage. Wrap fragile sections generously to ensure maximum protection.
- Furniture Blankets or Moving Pads: These are essential for covering the recliner and adding an extra layer of protection. They act as a shield against bumps and scrapes that may occur during the move. Opt for thick, durable blankets to ensure the best possible defense.
- Packing Tape: Secure the blankets and bubble wrap in place with strong packing tape. High-quality packing tape will ensure that all protective layers stay intact throughout the move. Consider using a dispenser to make the application easier and more efficient.
- Plastic Wrap: This can help keep everything together and prevent dust and moisture from reaching the recliner. Plastic wrap is also excellent for bundling loose components together and keeping them from shifting. Ensure that the wrap is tight enough to hold everything securely.
- Cardboard Sheets: These can be used to create a barrier between the recliner and other items during transport. Cardboard provides a sturdy layer that can prevent heavier items from crushing the recliner. Cut the sheets to fit around the recliner snugly for optimal protection.
Preparing the Recliner for Packing
Proper preparation is key to ensuring that your lift recliner is packed securely. Taking the time to prepare your recliner will make the actual packing process more efficient and effective. Follow these steps to get your recliner ready for packing.
Cleaning the Recliner
Before packing, clean your lift recliner to prevent dirt and dust from being trapped during the move. A clean recliner not only looks better upon arrival but also prevents abrasive particles from causing damage during transit.
- Vacuum: Use a vacuum cleaner with an upholstery attachment to remove any loose dirt and debris. This step is crucial for preventing dust from embedding into the fabric during the move. Pay special attention to crevices where debris can accumulate.
- Spot Clean: Use a mild detergent and a damp cloth to spot clean any stains or marks. Make sure the fabric is completely dry before proceeding to the next step. Moisture can lead to mold or mildew if left unchecked, so ensure thorough drying.
Disassembling the Recliner
Disassembling your lift recliner can make packing easier and reduce the risk of damage during transport. Smaller components are less likely to sustain damage than a large, cumbersome piece of furniture.
- Remove Cushions: Take out any removable cushions and set them aside. Cushions can be packed separately to prevent them from being compressed or misshaped. Wrap them in plastic or place them in a separate box for added protection.
- Detach the Backrest: Most lift recliners allow you to remove the backrest. Follow the manufacturer’s instructions to do this safely. Removing the backrest can significantly reduce the height and bulk of the recliner, making it easier to handle.
- Unplug and Secure Cables: If your recliner has electrical components, unplug them and secure the cables with twist ties or zip ties. Loose cables can snag or get damaged, so secure them tightly and label them for easy reassembly.
Packing the Recliner
With your recliner cleaned and disassembled, it’s time to start packing. Proper packing ensures that each component is adequately protected and ready for transport.
Wrapping the Recliner

- Wrap with Tissue Paper: Start by wrapping smaller parts, such as remote controls or cables, with tissue paper. Secure them with tape. This initial layer provides a soft cushion that prevents scratches and keeps components organized.
- Cushion with Bubble Wrap: Wrap the recliner’s frame and any exposed parts with bubble wrap, focusing on edges and corners. The additional cushioning safeguards against impacts during transport. Make sure the wrap is tight and covers all vulnerable areas.
- Cover with Furniture Blankets: Place furniture blankets or moving pads over the recliner to protect it from scratches and impacts. Use packing tape to secure the blankets in place. Ensure the entire recliner is covered, and tuck the blankets under edges for a snug fit.
Securing the Recliner
- Use Plastic Wrap: Wrap the entire recliner with plastic wrap to keep the blankets and bubble wrap in place. This step also prevents dust and moisture from penetrating the layers. Ensure the wrap is applied tightly for maximum security.
- Add Cardboard Sheets: If needed, place cardboard sheets around the recliner for additional protection during transport. These sheets act as a buffer against external pressure and help maintain the recliner’s shape. Double up on sheets for extra protection if the recliner is stored with heavier items.
Final Tips for Packing a Lift Recliner
Packing a lift recliner requires attention to detail and careful handling. Here are some additional tips to ensure a successful move:
- Label Parts: If you disassemble the recliner, label each part and its corresponding hardware to make reassembly easier. A simple labeling system will save you time and frustration later, ensuring that each component is returned to its rightful place.
- Communicate with Movers: If you’re hiring professional movers, inform them about the recliner’s weight and any special handling instructions. Clear communication ensures that movers take the necessary precautions to handle your recliner with care.
- Position Wisely: When loading the recliner onto a moving truck, make sure it’s positioned securely and doesn’t shift during transport. Secure it with straps if necessary to prevent movement that could lead to damage.

Conclusion
Packing a lift recliner doesn’t have to be a stressful experience. By following these steps and using the right materials, you can protect your furniture from damage and ensure it arrives safely at its destination. A well-packed recliner will retain its comfort and functionality, ready for use in its new home.
Remember to take your time and be gentle with your recliner throughout the process. With a bit of planning and care, your lift recliner will be ready for its new home or storage. Whether you’re moving across town or storing your recliner for future use, these tips will help you pack your lift recliner like a pro. Happy moving!

